Read this first


Audio System
Aerial
Operating Tips for Audio System
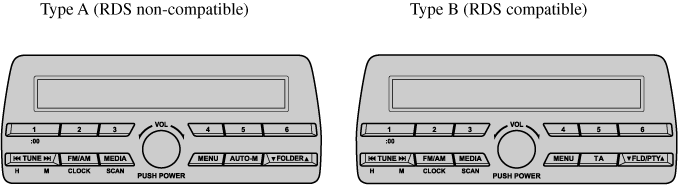
Audio Set [Type A/Type B (non-touchscreen)]
Audio Set [Type C/Type D (touchscreen)]
Audio Control Switch Operation (Some Models)
AUX/USB