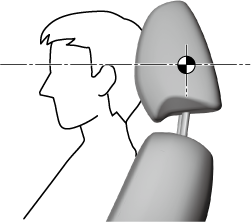
Height Adjustment
Adjust the head restraint so that the centre is even with the top of the passenger's ears.
To raise a head restraint, pull it up to the desired position.
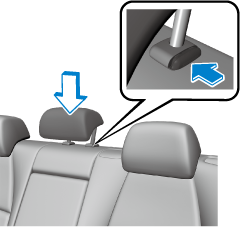
To lower the head restraint, press the stop-catch release, then push the head restraint down.
Front seats
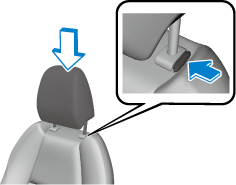
Rear outboard seats
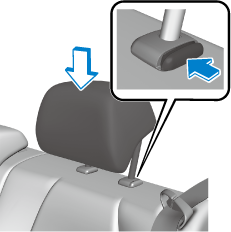
Rear centre seat