

Pandora® (Some Models)
What is Pandora®?
Pandora® is free personalised Internet radio. Simply enter a favourite artist, track, genre, and Pandora® will create a personalised station that plays their music and more like it. Rate songs by giving thumbs-up and thumbs-down feedback to further refine your station, discover new music and help Pandora® play only music you like.
-
Pandora®, the Pandora® logo, and the Pandora® trade dress are trademarks or registered trademarks of Pandora Media, Inc., used with permission.
-
Pandora® may not be available outside of the U.S.A..
-
To operate Pandora® from your Bluetooth® device, perform the following in advance:
-
Install Pandora® application onto the device.
-
Create Pandora® account.
-
Create Pandora® station.
-


-
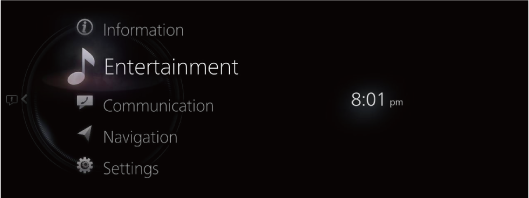
Select “Entertainment” on the home screen.
-
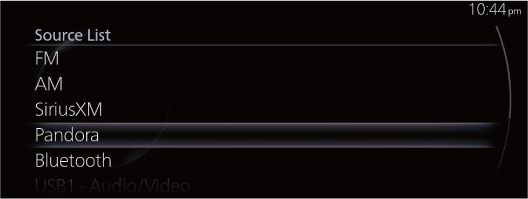
Select “Pandora” on the Source List screen.
If there is currently playing content, select “Entertainment” to have the contents displayed on the playback screen.
While on the playback screen, press the
 on the commander switch to display the Source List screen.
 -
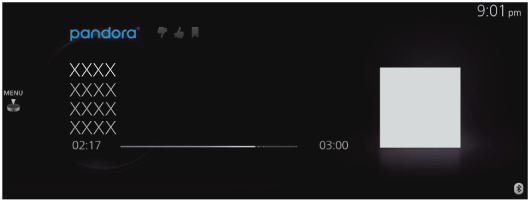
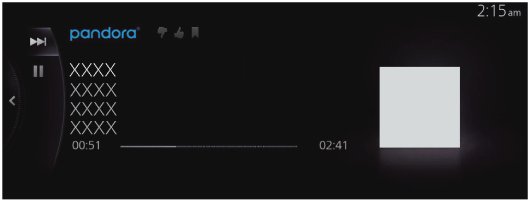
The playback screen is displayed.
Rotate the
 to display the Favorites list for the Pandora.
When the
 is displayed, you can display the menu by pressing the .
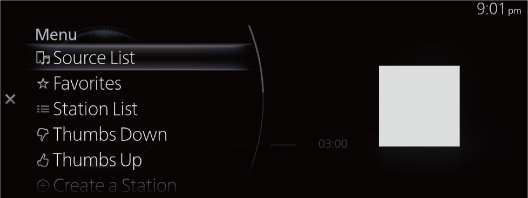
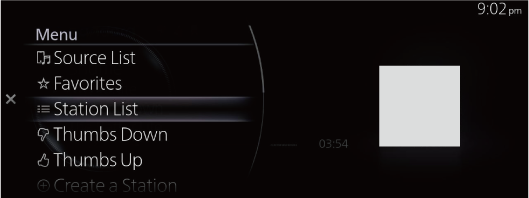
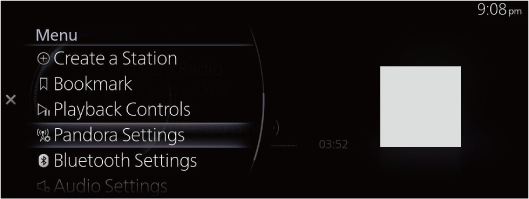
Pandora® menu
|
Menu |
Explanation |
|---|---|
|
Source List |
Displays the Source List screen. You can switch the audio source. |
|
Favorites |
Displays the Favorites list for Pandora®. The radio station list registered to your Favourites is displayed where you can select the contents you want to listen to. If you have no registered Favorites, an empty list is displayed. Refer to Favourites (Search) for the method of registering to Favorites. |
|
Station List |
Displays the radio station received from the connected Smartphone. You can select the contents you want to listen to from the displayed Station List. You can change the display order of the Station List. For details on how to change the display order, refer to Changes the display order of the Station List. |
|
Thumbs Down |
Evaluates the currently playing contents (thumbs down). |
|
Thumbs Up |
Evaluates the currently playing contents (thumbs up). |
|
Create a Station |
You can create your own special radio station. For details on how to create your radio station, refer to Create a Station. |
|
Bookmark |
Bookmarks the currently playing contents or artist. You can bookmark song or artist to check out later on the Web. |
|
Playback Controls |
Displays the control screen (icon) on the playback screen. For the operation method for each icon, refer to How to Use the Tuner Controls (icon). |
|
Pandora Settings |
Sets Pandora®. For the items you can set, refer to Pandora Settings. |
|
Bluetooth Settings |
You can change the Bluetooth® settings. Refer to Connectivity Settings (Search). |
|
Audio Settings |
Adjusts the sound quality. Refer to Sound Settings (Search). |
-
The skip function may not be available depending on the device.
-
The number of skips is limited by Pandora®.
-
If the “Thumbs Down” is selected when the skip song function is running, the next song is skipped.
Changes the display order of the Station List
-
Select “Station List”.
-
Select “
 [currently selected sort classification]” from Option.
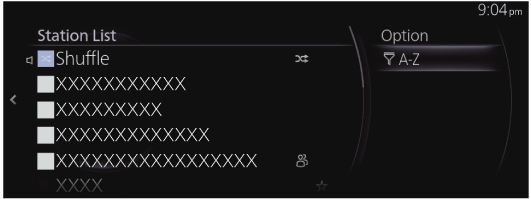
-
Select the sort classification from the Sort menu to switch the display order of the Station List.
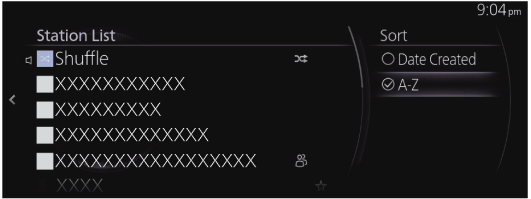
Date Created: Contents are displayed according to the date they were created.
A-Z: Contents are displayed in alphabetic order.
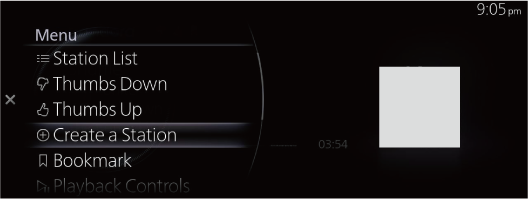
Create a Station
-
Select “Create a Station”.
-
Select the menu and create a new radio station.
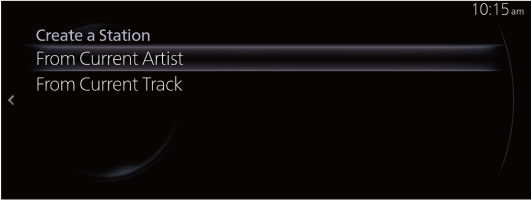
From Current Artist: Creates a radio station from the song or artist being played.
From Current Track: Creates a radio station from the song being played.
How to Use the Tuner Controls (icon)
|
Icon |
Explanation |
|---|---|
 |
Goes to the next song. |
 |
(When selected during pause) Plays the track. |
 |
(When selected during playback) Pauses the track. |
Pandora Settings
The Pandora® settings can be changed.
-
Select “Pandora Settings”.
-
Select the menu and change the Pandora® settings.
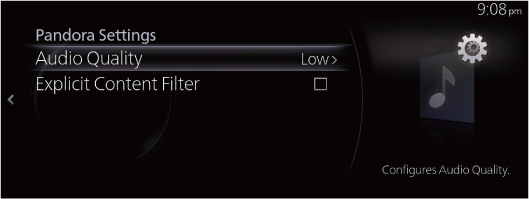
Audio Quality: Switches the sound quality of the contents to “High” or “Low”.
Explicit Content Filter:When checked to turn on, playback restrictions of the contents are applied.
