Jack (Some Models)
To remove the jack
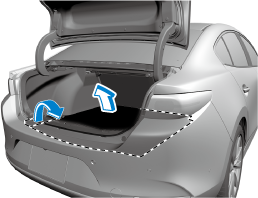
Saloon
-
Remove the boot mat.
-
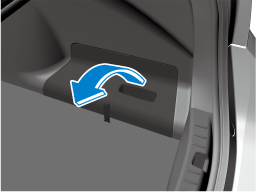
Remove the cover.
-
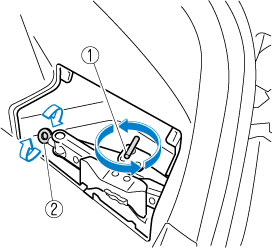
Turn the wing bolt and jack screw anticlockwise.
-
Wing bolt
-
jack screw
-
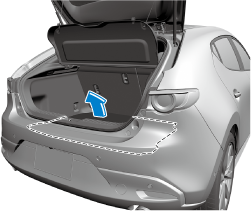
Hatchback
-
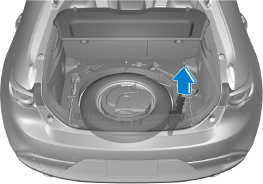
Remove the luggage mat.
-
Remove the jack.
To secure the jack
Saloon
-
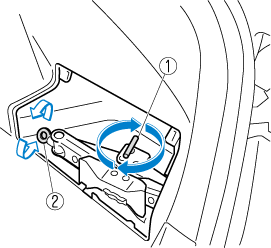
Insert the wing bolt into the jack with the jack screw pointing to the front and turn the wing bolt clockwise to temporarily tighten it.
-
Turn the jack screw clockwise.
-
Wing bolt
-
jack screw
-
-
Turn the wing bolt completely to secure the jack.
If the jack is not completely secured, it could rattle while driving. Make sure the jack screw is sufficiently tightened.


Hatchback
Perform the removal procedure in reverse.
Maintenance
-
Always keep the jack clean.
-
Make sure the moving parts are kept free from dirt or rust.
-
Make sure the screw thread is adequately lubricated.